I thought forever on how to do this after I found a picture of a shirt this way! I knew it had to be easy, it's just a matter of our your fold the shirt. I did find several tutorials, but most were not very informative, or they were really long or I didn't like the way their peace sign turned out. So.. here goes my tutorial added to the net!
Start with a slightly damp shirt and lay it flat.
Fold it in half.
Now fold up the bottom part a little more than half way.
Then bring it back... folding that portion in half again.
Now take the half of the shirt near the neck and fold it over to match that other part. The whole right side of the V in this picture is the middle and two lines coming our of the peace sign.
Remember which side all of your folds are one for the center lines of the sign and, starting a little down from the neck, begin to gather your material.
Here is mine all gathered. Place 2 rubber bands near where you were gathering. These will be section off the ring around the peace sign.
Now grab those 3 folds and...
Pinch and gather them towards your outer ring bands.
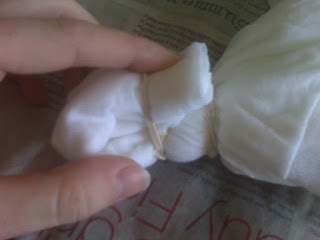
Now fold them up on top of your outer ring so you can band them all together.
Tadaaaa! Banded together!
I somehow didn't snap a shot of the dyed product at this point so... starting from right to left.
First banded section: I dyed it pink (These are the 4 middle sections of the peace sign.
Second: I dyed blue. this is your sign.
Third: Purple. This is just a decorative ring around the peace sign.
Last: I just randomly squirted pink and a little purple dye all over. I wanted the peace sign to be the most colorful part. You can band all the way down to create different color rings if you want!
Here it is all washed and dried! Turned out nice huh!


No comments:
Post a Comment