Friday, July 23

Tie Dye (Guitar)

Ok... Here is the one I am VERY proud of!  I saw a picture of one and knew that it had to be simple.  It was just a matter of figuring it out!  And I was right (Love it when that happens).  It's way to easy and even after a long search over the internet I couldn't find a tutorial so... here is my Guitar Dying method!
I only wanted a guitar on one side of my shirt, and I did mine at a diagonal so that it would kinda wrap around the bottom of the shirt at the hips.
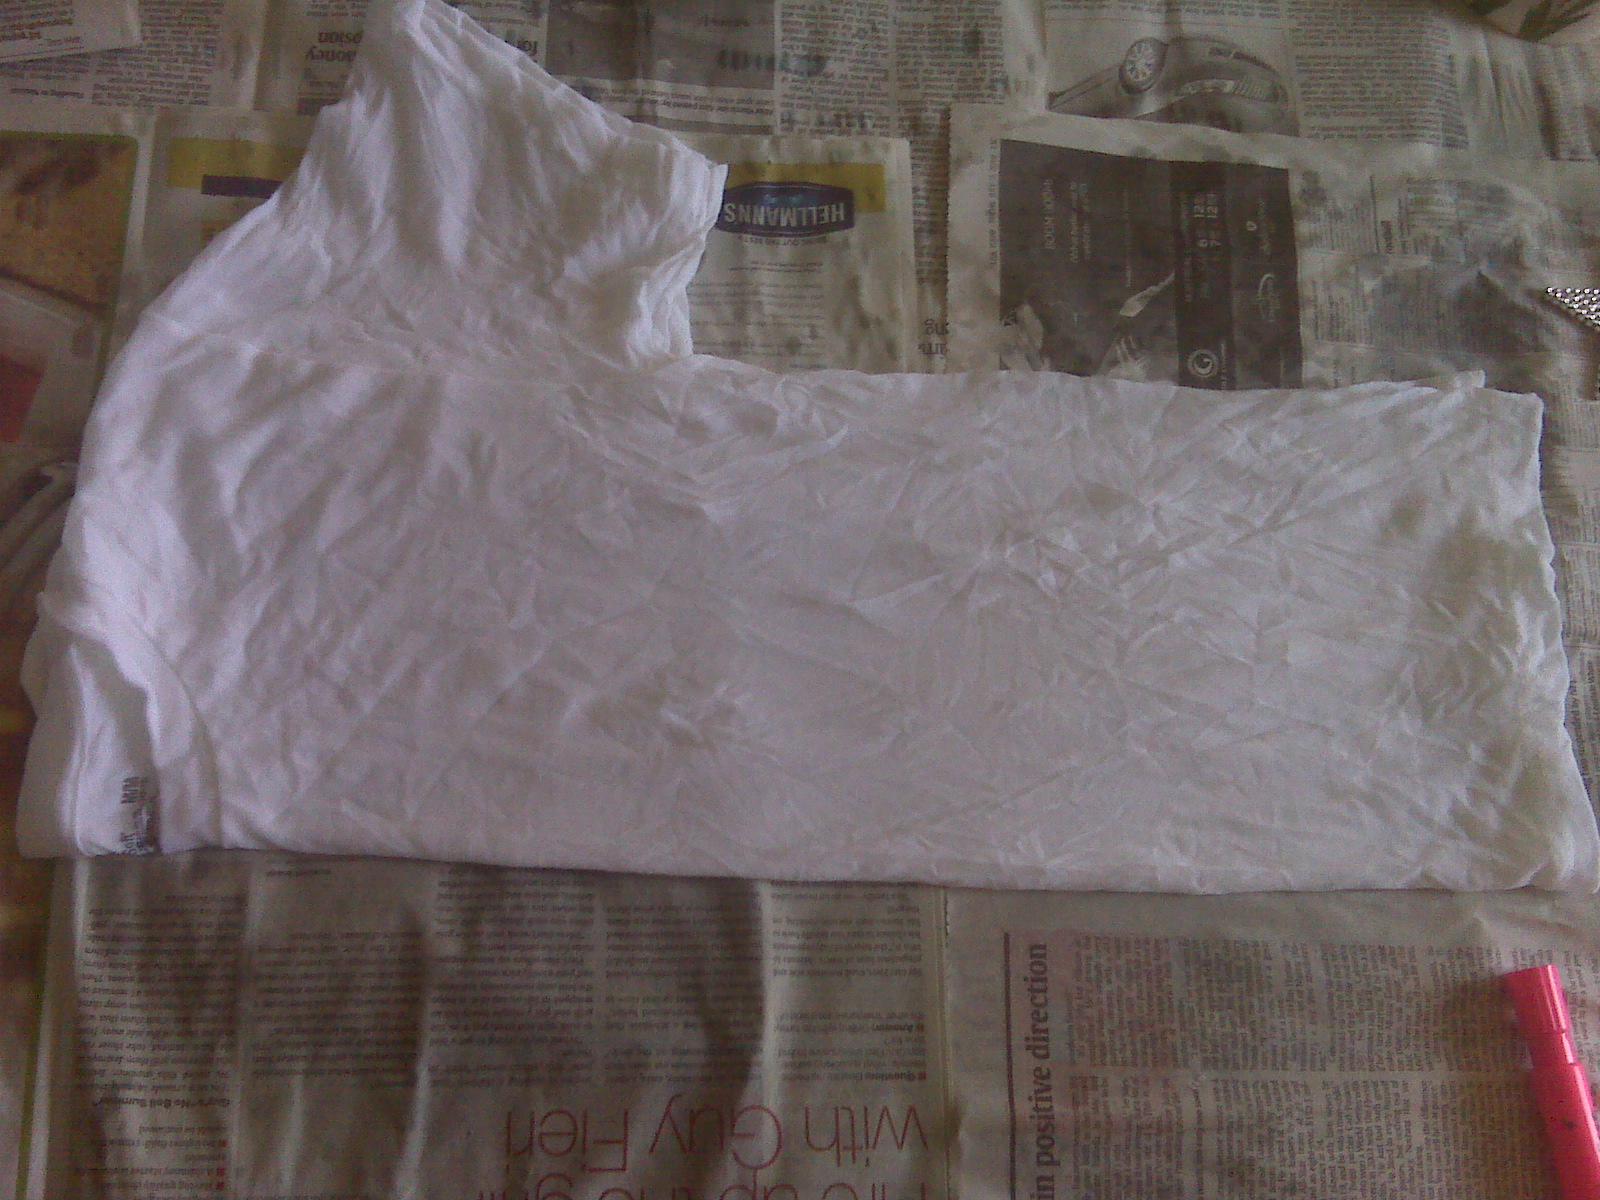
Here it is folded.

Draw half a guitar and the middle hole on the fold.

Take a needle and thread and hand sew through both layers along your guitar shape.

When you have gone all the way gather your fabric along your string!  The Stitching forces the shirt to stay all in one line while you gather.

I tied the ends of my string together, top and bottom of the guitar touching.

then I banded them, making sure that as much of my pink line was directly under the band as possible.

Then I gathered my middle circle and banded it!

I added another band above my original guitar line.

I finished them all with and "Electric Ball".  Just squish the left over and band to hold.

Here is how I dyed it.  The Electric ball part is soaked good with pink and splashed with purple.  Guitar outline is purple and guitar base is green.

Now.. for the finished results... I was to excited to see how they would turn out so I took the pictures with my phone right out the washer!  I was so excited to see if they would work!

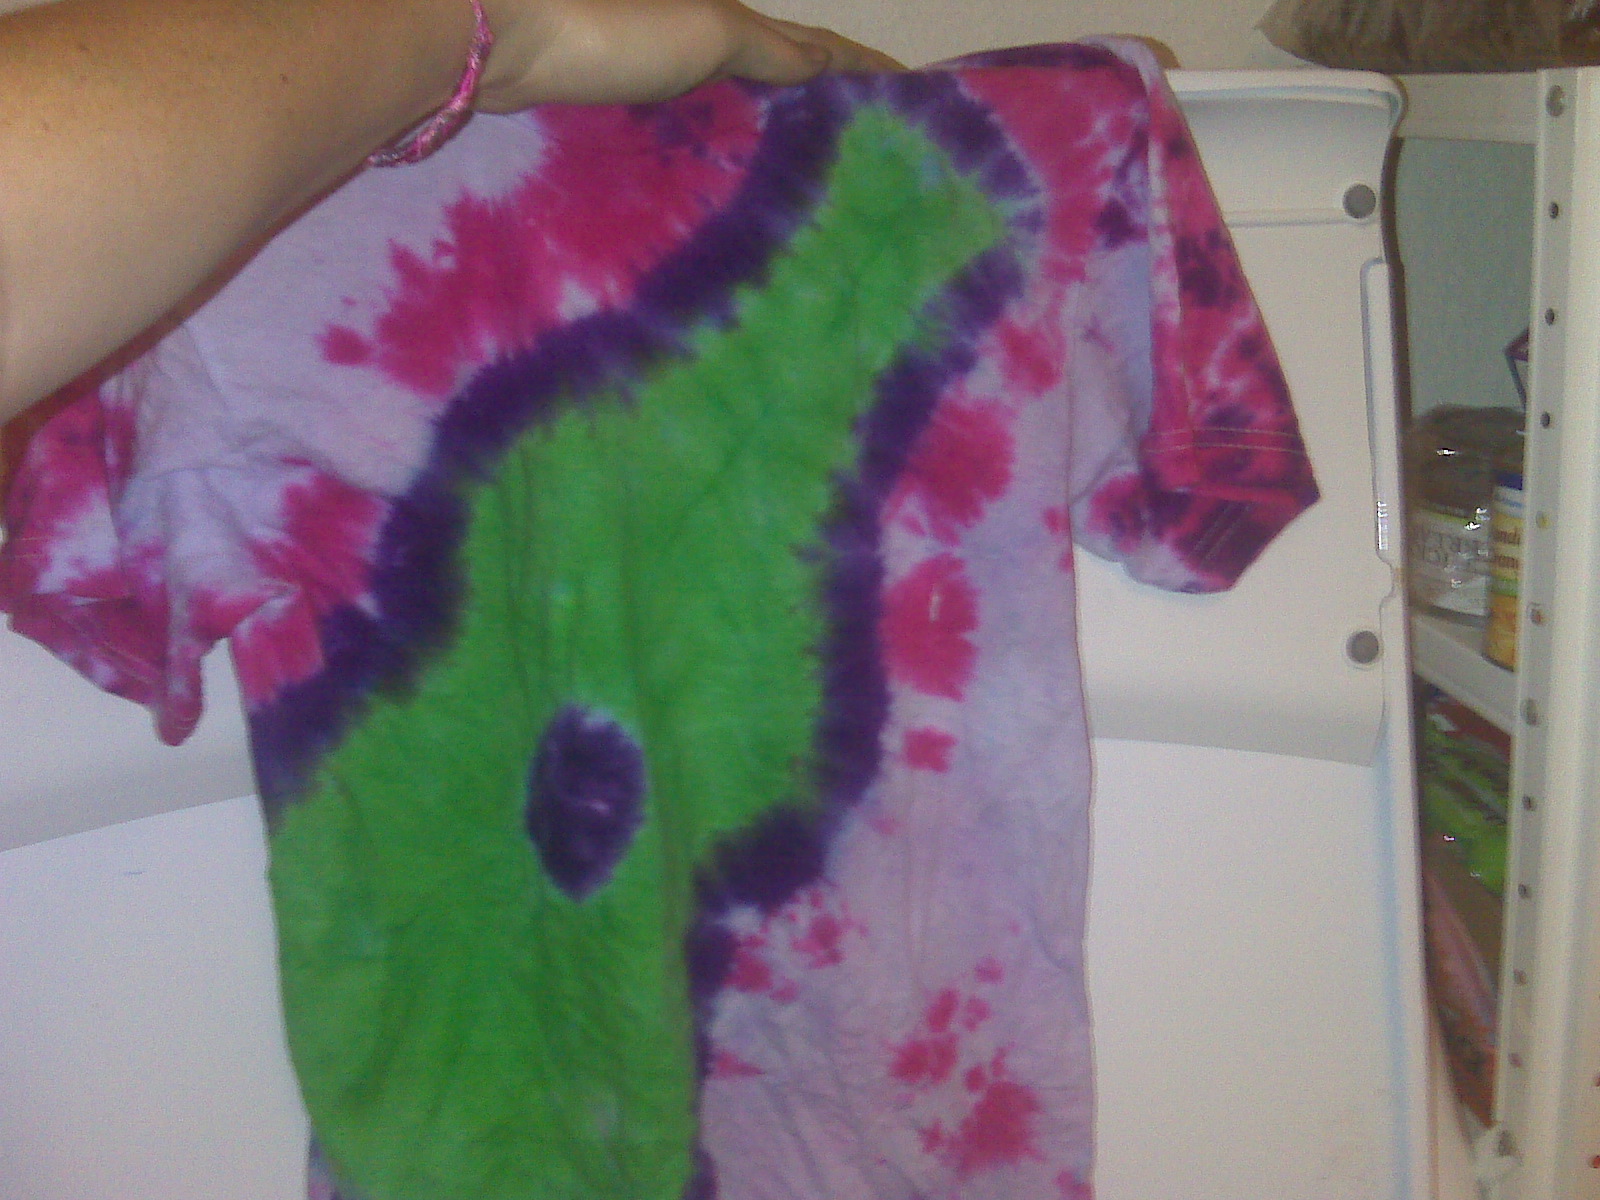
A note on this one.  I am NOT the best artist.. even when outlining half a guitar.  I would be sure that the neck of your guitar is long and skinny not short and fat like this one.

Here is the second one I pulled out of the wash!


This very last I started running our of dye so I improvised.  I diluted my purple for the outside, There was supposed to be a blue ring around my yellow guitar, but... my colors ran together cause I was getting sloppy and adding to quickly.  When it was all bundled the colors looked disgusting!  I was sure that this one was going to be ugly.  I was so mad cause this one was supposed to be mine!  Well... I think my messed up one turned out the best!!!!  YEAH!

Thursday, July 22

Tie Dye (Peace Sign)

I thought forever on how to do this after I found a picture of a shirt this way!  I knew it had to be easy, it's just a matter of our your fold the shirt.  I did find several tutorials, but most were not very informative, or they were really long or I didn't like the way their peace sign turned out.  So.. here goes my tutorial added to the net!
Start with a slightly damp shirt and lay it flat.
Fold it in half.
Now fold up the bottom part a little more than half way.
Then bring it back... folding that portion in half again.
Now take the half of the shirt near the neck and fold it over to match that other part.  The whole right side of the V in this picture is the middle and two lines coming our of the peace sign.
Remember which side all of your folds are one for the center lines of the sign and, starting a little down from the neck, begin to gather your material.
Here is mine all gathered.  Place 2 rubber bands near where you were gathering.  These will be section off the ring around the peace sign.
Now grab those 3 folds and...
Pinch and gather them towards your outer ring bands.
Now fold them up on top of your outer ring so you can band them all together.
Tadaaaa!  Banded together!
I somehow didn't snap a shot of the dyed product at this point so... starting from right to left.
First banded section: I dyed it pink (These are the 4 middle sections of the peace sign.  
Second: I dyed blue.  this is your sign.
Third: Purple.  This is just a decorative ring around the peace sign.
Last:  I just randomly squirted pink and a little purple dye all over.  I wanted the peace sign to be the most colorful part.  You can band all the way down to create different color rings if you want!
Here it is all washed and dried!  Turned out nice huh!

Wednesday, July 21

Tie Dye (Hearts)

These are so much easier than they look!  Are you ready for some Tie Dye Hearts?
Find the line where you want your heart middle to be.  You can do one right in the middle, through both layers, but... again... I must be different!  Even when trying this for the first time.
Ok.. Since I did mine off center and in a corner... I only wanted a heart through one layer of shirt.  At this point you could easily just fold your shirt in half and go through 2 layers in the middle.
Now draw half a heard on your fold and you are going to start gathering at the bottom.
Keep going... keeping the line you drew together.
Here I am almost done.  The curve of the heart at the top is the hardest.  Just notice how where my fingers are pinching the fabric my pink mark is all in one line.
You are then going to place a rubber band over your drawn line.  Keeping it all together.
I added a few more bands down the line.  

Again... I can't make it easy on myself... even for the first time of dyeing hearts!  I wanted a smaller one on the sleeve.  The angle of the marker is where I put my fold.
Here it is folded with my half a heart drawn on.
I did the same type of folding... following the line and then banding it.

Here is it with the dye on.  the blue/pink part on the left is my heart on the sleeve and the pink/blue/pink is the one on the body of the shirt.
Here it is all washed and dried!  Turned our pretty cute if I must say so myself!

Tuesday, July 20

Tie Dye (Simple Stripes and a Circle)

Here are two different Tie Dye patterns I did for the 4th.  They are both very basic, but I figured I took the time to take pictures and it is interesting how different they come out!

First up... Stripes!
Lay your shirt flat and the slide your hand up to create pleats horizontally across the front.
Rubber band it together.
Put your dye where you would like.  I ran out of blue, so I tried something.. it didn't work, but the dark blue stuck!
Here is what it looks like finished... Just remember... the blue was supposed to stand out just as much as the red, but... we kinda ran out and it was 1 am!

Now...CIRCLES!
See where I'm pointing.. that will be the middle of my circle.  I wanted it off center.
Now I just pinch there and lift!
Then I put a rubber band near the top where I was pinching!
Then rubber band all the way down.
Here is where I dyed.  (Note... DYE  not DIE  or I wouldn't be posting this.)
Here it is finished!

Two basics.. the look very similar banded, but very different in the end.