Thursday, September 30

Guest Post - Easy Fabric Wreath

Welcome to my little sissy, Banana Sherbert!  lol  I'm so excited to welcome her to Sherbert Cafe!  Originally this blog was going to be between me and ALL my sisters, but... you know how life goes...  Blah Blah...  Anyways.  Banana Sherbert came up with this amazing wreath and has promised to make me one for Christmas.   (At least I think... *Hint Hint)

Step 1: Bend a wire hanger into a circle-ish shape
 Step 2: Pick your fabrics!  They can be anything from coordinating seasonal colors, scraps, tool, fleece, ribbon, whatever you want.
 Step 3: Cut or tear fabric into strips. Cutting them looks more uniform, tearing will give the frayed shabby chic look.  Length and width of strips is up to you! I made my tool trips about 5 inches wide and fabric strips about an inch and a half. Both were around 8-9 inches long. The longer the strip the fluffier the wreath. 
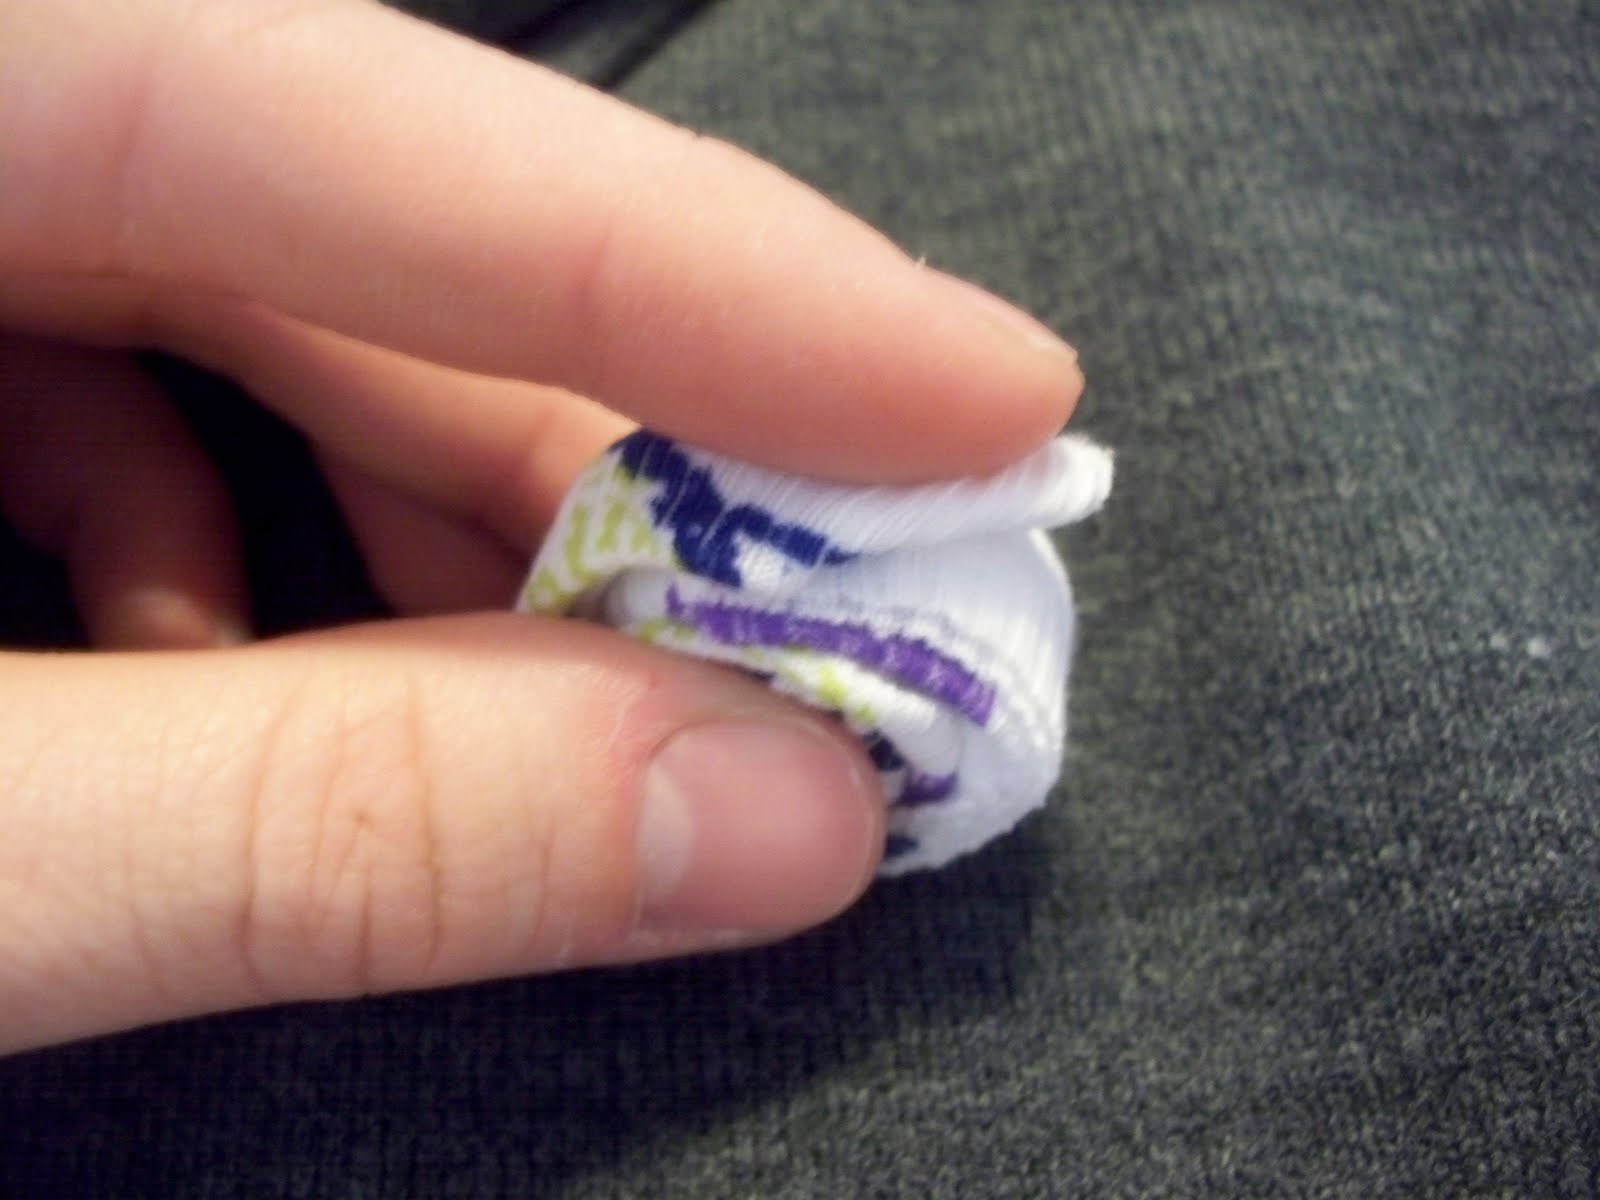
 Step 4: Single knot tie the strips on, alternating each pattern. I did three of each pattern so they would show up in bigger chunks. Push the knots as close together as you can for maximum fullness.


 Step 5: Take a coordinating ribbon and tie a big bow at the top or side, you could also put a flower, seasonal decoration (Pumpkins, Christmas ornaments, small flip flops for summer, American flags), or a combo of any the above. I just happen to have the Howdy sign and thought it would look cute in front since the colors matched :)
You can bend the hanger hook back so it wont be seen and hang with a ribbon or just bend it till its mostly hidden and hang the wreath by the hook so your ribbon/ornament can be off center.

Isn't she wonderful!  I LOVE the Howdy sign!  I love the colors.  I love the price!  You could easily make this from scraps and a dry cleaning hanger!  Banana Sherbert is having a baby in December so.... I'm hoping to get more of her ideas for her baby!  Good luck little sis!

Friday, September 24

Soda Can Bracelet

 My favorite soda is Dr. Pepper.  I grew up in TX and....   I don't know... it's just the best!  lol  Honestly, I don't usually buy sodas.  Even at a restaurant I will get water.  But, if someone offers me on, by all means, I WILL DRINK IT!  My hubby had surgery recently and the recover center had a snack room.  When I opened the fridge a chorus of angels began to sing as I spotted this beautiful can of Dr. Pepper.  Not only is this one spectacularly delicious, it is also a way neato can!  So...  I cleaned it out... literally.  I drank every drop and then washed the inside with soap to take home with me!
 Here is where that knife demonstation where the cut a can comes in handy!  I do recommend you wear some gloves when handling the can.  It was a little scary there!  All I did was cut up the back and then around the sides at first.  I made sure my trash can was handy so all the tiny scraps went right in the bin!
 Next I trimmed up the picture.  Notice how the top of the one of the left is cut a little different... I wanted them to over lap cause they were a little big if I didn't.
 I used some scrap squares I had and sewed 2 together for the back
 Then I got 2 more squares, folded them in thirds, then halves, then sewed them closed.
 Then I trimmed a piece of thin batting to give it a little more strength and protect the fabric from the cans sharp edge.  I then used gorilla glue to stick my 2 cans together where I wanted then to over lap and squished them between a book for a little bit.
 After that was done I trimmed my batter a little larger than my can and my fabric about and inch larger.  Also notice that I hemmed the ends of my fabric before moving on to the next step.
 I couldn't use pins so I used painters tape!  Easy to rip....  I folded everything over to edge my awesome can~
I did leave the tips open.  I slide the tip of my sewed squares between the can and the batting and pinned that into place.
See!  Already to sew! 
 Now... did you know that you can sew through can?  Up!  I was skeptical, but after going so far... I tried it!  I did keep extra needles handy.  I used a zig zag stitch.  I think the only thing I would do different next time is adjust the length between my stitches.  They didn't need to be as close as I set them and it would have looked... cleaner?... if they were farther apart.
 When done sewing I removed the tape, tied a simple double knot and slipped if over my wrist!
 Here is a side view...
 Here is a top view....
Here is a worn view!  I like it!


Monday, September 13

Skirt Fix #1

Here I am to sprinkle some sewing knowledge.  This is another addition to PROJECT PICKENS!  I must say it's been nice to finish my stack of to do's and using up my scraps, but I am WAY loading my list of crafts I want to do!  

Ok... I have 2 skirts in my "Thrift Store Fix-it" pile.  They are both sooo cute!  I resisted fixing cause they both have sequins and those are a PAIN in the patootie to fix.  
This is skirt #1  Cute... Pink... I knew it would be easier to fix than the other sooo.. I fixed it first!  Now... I am by no means a size 4.   I'm not huge, but for sure NOT a size 4.  But... 
there are pleats in this skirts which means... more fabric than it seems!
So.. after hours of fixing sequins... and I'm sure more cause.. I have little ones...  I started here at the zipper.  I removed the little clasp and that strip of liner at the top inside of the skirt.  I know it's hard to see the difference in the sides of the fabric here, but... up where my fingers are is the top lining and I'm showing the inside of the skirt here.
Easier to tell a difference in the colors here!  This is with the lining and clasp removed.  Notice how nothing is now holding down the seams for those pleats!
Oh.. the pleats!  There were so many!  I took out every other one and then... realized there were to many and sewed them all back in but 2!  Still not a 4 or a 6!  I think these may have been purchased at a crazy store!  lol  This is a picture of the original pleats removed.  I left 3 in the front and 3 in the back.  Then went to 5 in front and 5 in back!  lol  I hate redoing stuff.. I should have measured first.
I then used some linen I SWEAR I already had scraps of and just happened to match the skirt!  I cut strips on the fold about 3.5 inches wide and sewed them together to make a new lining for the top.
Then I pinned it on with the RIGHT sides facing.  I also let my liner stick about the top about a quarter inch.  Sew a straight stitch and get that sucker down!
Now here it is stitched down.  Liner is on the right.  I'm now going to fold that over so that the seam and ends of the fabric are hidden.
See.. I pinned it down!
Now sew it down!  I also sewed a tiny line down by the zipper.  So that the ends wouldn't flare up.
Done and ready to wear!
So cute!
Now.. remember the original liner from the inside of the skirt that that held the seams?  Well.. I trimmed a few inches off, used a cute stitch to  hold down the end that was connected to the skirt, and hemmed the tips.  I then measured it around my head and pinned where I wanted buttons to go!
See!  The 2 big buttons are the ones that are truly functional and the small ones are just for show.  SEW CUTE!  lol

Saturday, September 11

Rolled Fabric Flower Tutorial & A Sweater Makeover!

I've been seeing these shirts EVERYWHERE with the cute flowers all over them.  In stores and on blogs!  Who doesn't have  plain shirt they wouldn't mind sprucing up!  Why buy a new shirt when you can revamp a new one!

Well... I have a stack of clothes that either need repair or are thrift store finds that I new I could repair or revamp.  What a perfect opportunity to show you how to do my version of another easy rolled flower!
BEFORE STARTING THIS BE SURE TO HAVE A KNOTED NEEDLE AND THREAD READY!
Depending on how large and tall you want your flowers you will need a few strips of fabric.  I  made 2 1.5 inch strips and then the one .5 inch.  Mine are a stretch jersey so I knew that a little would go a long way!
By hand... fold in half one end of your fabric and tie a knot.
Folding your fabric in half as you go wrap your strip around your knot.
About every  one and a quarter turn around twist your fabric so that the frayed end is on the top.  Continue this wrapping and twisting until your flowers is as large around as you would like.
When you are done fold a corner of the end under.
Using that needle and thread poke through the tip and start to secure!  I thought I took a picture of this finished, but...  Pretty much just stick your needle through as many layers as you can until you think it's secure!

The following aren't rolled flowers, but.. I wanted to show you how I created the other accessories I put on the shirt!
Here is a small pill of finished flowers that will go on the shirt!
Here is my dollars sweater!  All plain... still nice, but... I knew if could be cooler!
Next play with your flowers to see how you like them.  I did end up making more after this cause... just those wasn't enough for me!
I ended using my smallest ones to create mock buttons!  So comfy and now so cute!
A close up of the flowers!
Am I so cute!  And no... I'm NOT wearing sweatpants!  lol... yes I am... I can't lie to you.