


Ok... this is pretty crazy, but I'm AMAZED at how it turned out. I've been looking for cheaper and cheaper ways to create clothes for my kiddos. Anybody who sews, knows that sewing for sure isn't the cheapest. Most times the fabric will cost just as much as the clothing. We were packing to move (Note the WERE... long story....) and my husband pulled out a huge stack of clothes that he was willing to part with. I had the great idea to revamp them into other things! Enter.... Collared T-Shirt into Hoodie! I hope my pictures will help explain what words can't.
Start by chopping off the sleeves and folding the shirt with seems touching... the fold in half again and attempt to lay it flat.

Notice that this next picture is of the bottom of the sweater. You are going to need to figure out how long you want your sweater. Try measuring one of your kids existing shirts from neck to bottom. For this I ended up cutting off about 5 inches. Again... look at the picture before cutting. Notice that I didn't cut all the way across. About 2 inches from the side I started to go up. I like to make the least cuts possible in case I want to use the remnants for something. Before you cut all the way up the side... check the next step....

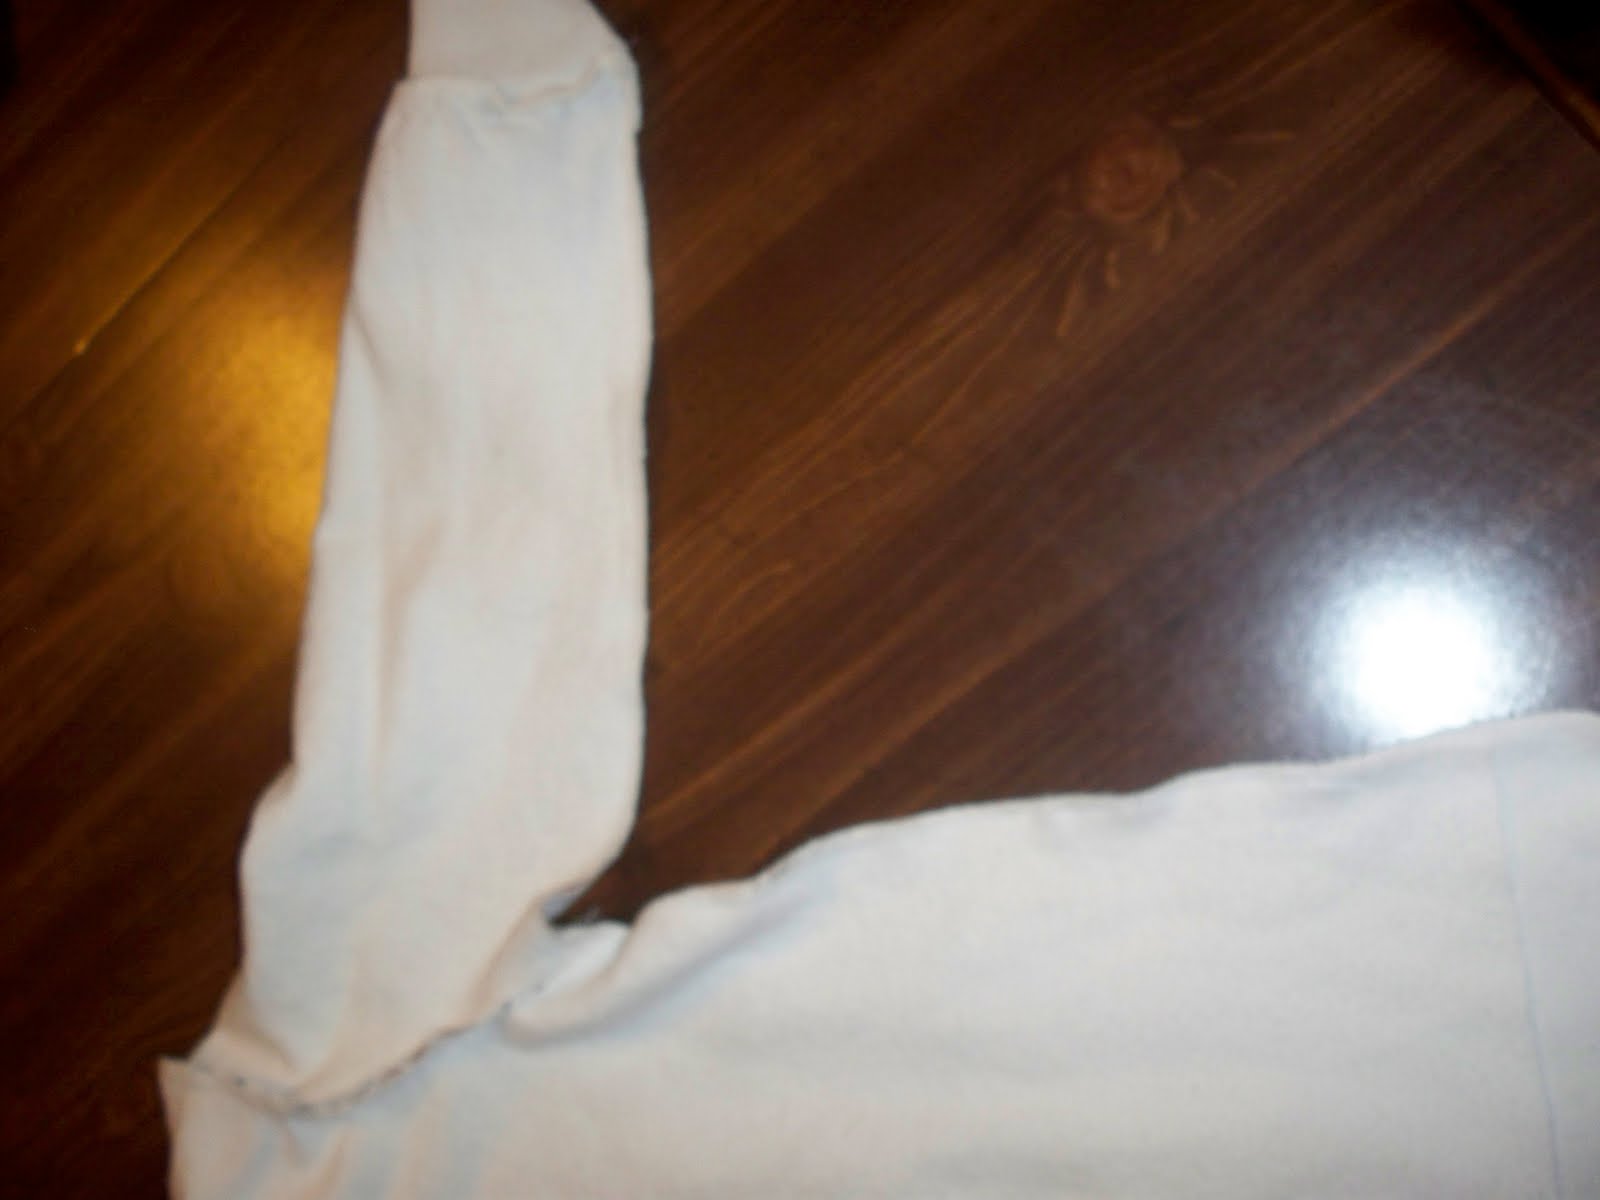
I included 2 pictures of this to be sure you got what I meant. The tricky part on any shirt is the arm (For me anyways.) You are going to want to cut a big "J" our of the arm (Or a backwards J depending on the side you are on.) Notice the difference in the original arm hole in the first picture. For this part I only cut through the first layer. I wanted the J on the back part of the shoulder to be slightly longer and larger so that he could move his arms forward a little better. You don't REALLY need to do this. It will work fine if you cut them the same. Lets face it. When people aren't going to notice... it's just makes it a little more comfy!

This is the second picture of the arm hole.. from the back this time so you can see the difference that I did.

Now you have cut the body of your sweater and it's time for the arms! (PARDON MY UPSIDE DOWN PICTURE!!) The "top" is really the "bottom"... lol. This sweater was a funny shape. Normally you will need to cut off some length, but someone with extremely short arms wore this I guess! All I really did here was cut some of the width off and create a different cut for the connection to the shoulder. Notice that the "bottom" is not curved and starts to go straighter. This is for Armpit movement!

This next picture is off the arm left overs. I cut the "tips" off the one part so I could use it for the hood. If you have extra from the side of the body then you can use that.

Ok... this next picture shows the remnants of the bottom of the body (that portion will line the face in the hood) and the left over arm pieces with the tips cut off (see above picture).

Now... the next picture shows the shape I used to cut the hood. This picture shows it sewn together too. When sewing your remnants together just remember to have the right sides touching so that when you turn it right side out.... uh... the right side is showing!

Next pin your hood to the neck of you shirt. Normally I would cut off the collar, but... it was late.. I was tired and it looks... different and different can be GREAT! lol Again... make sure that your right sides are facing.

Next pin your arms, AGAIN, right sides facing and sew the shoulder area. After that start from the wrist portions and sew straight up to the armpit and then down the sides... Just keep on going!
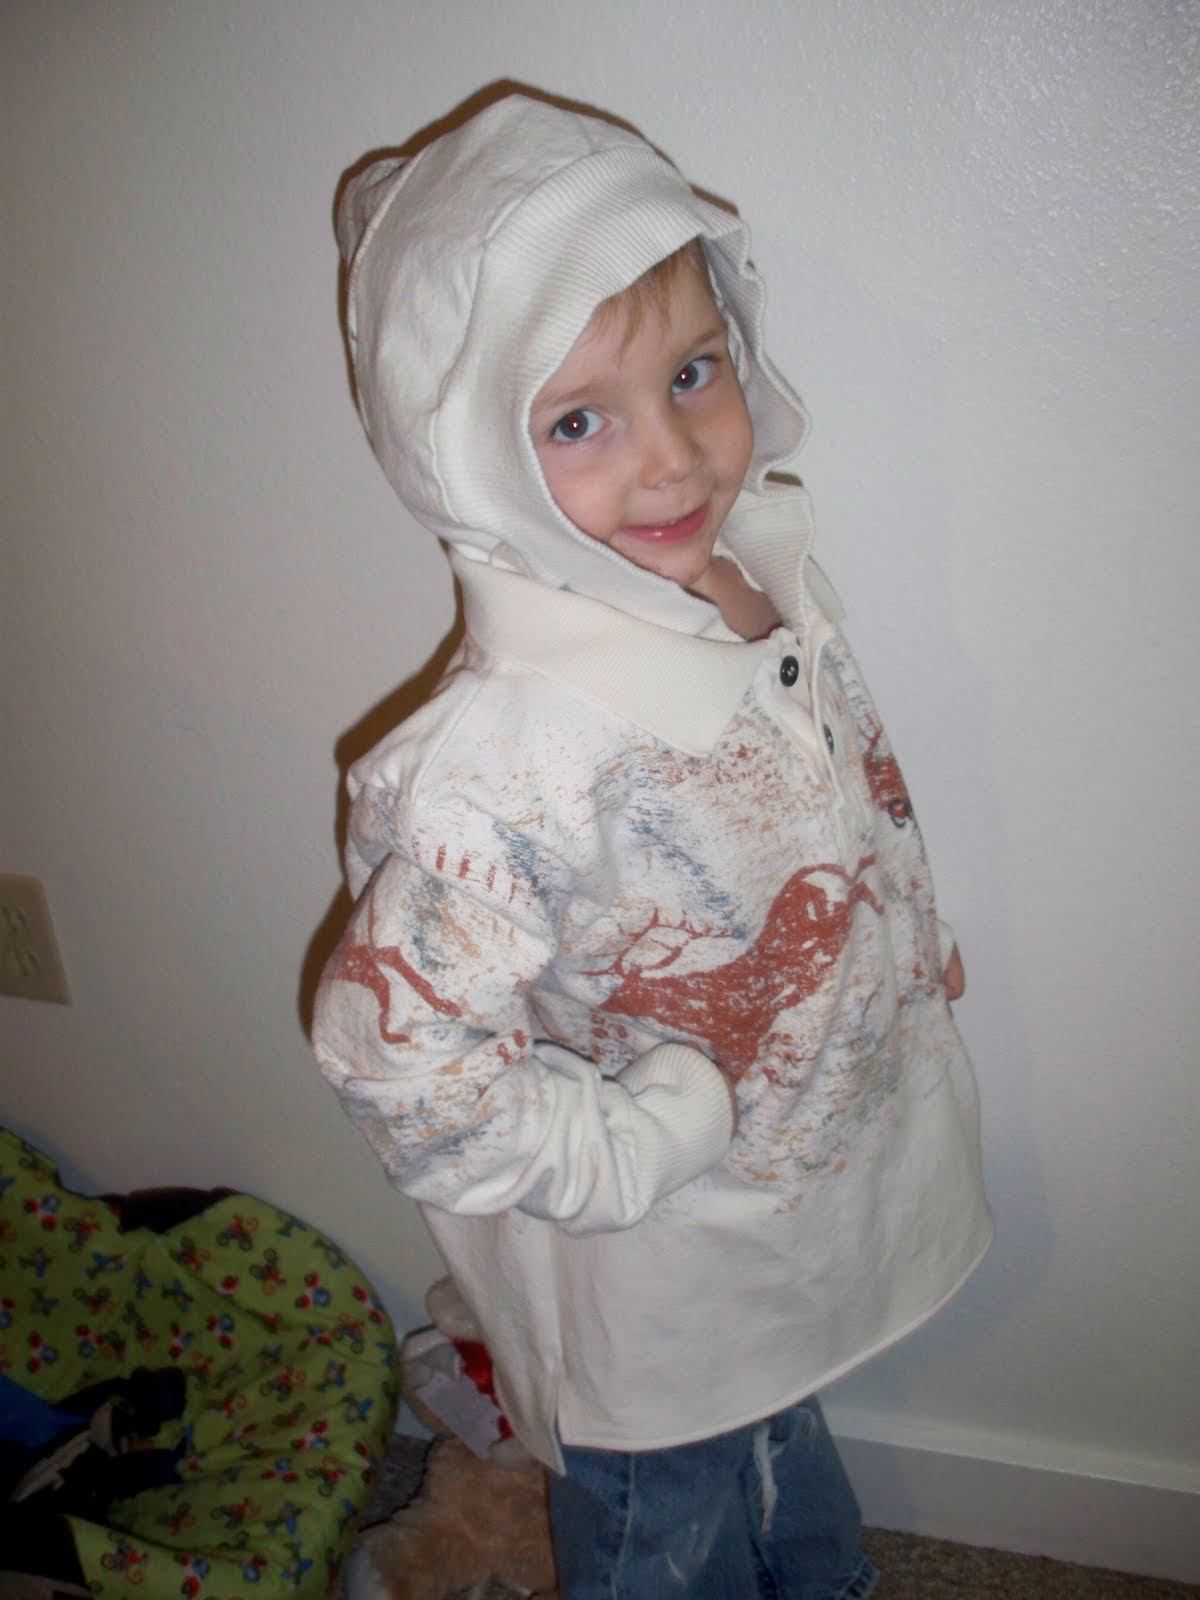
Next hem the bottom and your kiddo is ready to wear!

Email me if you have questions, but honestly.... this is about as good as describing as I can get! Let me know if it's to confusing!

No comments:
Post a Comment