


Here is my "new" Charcoal Grill. I found it on trash day... I LOVE trash day! Can you see how wonky it is? I tightened the screws to the legs after I took the picture. This is it all steel wool scrubbed and hosed off!
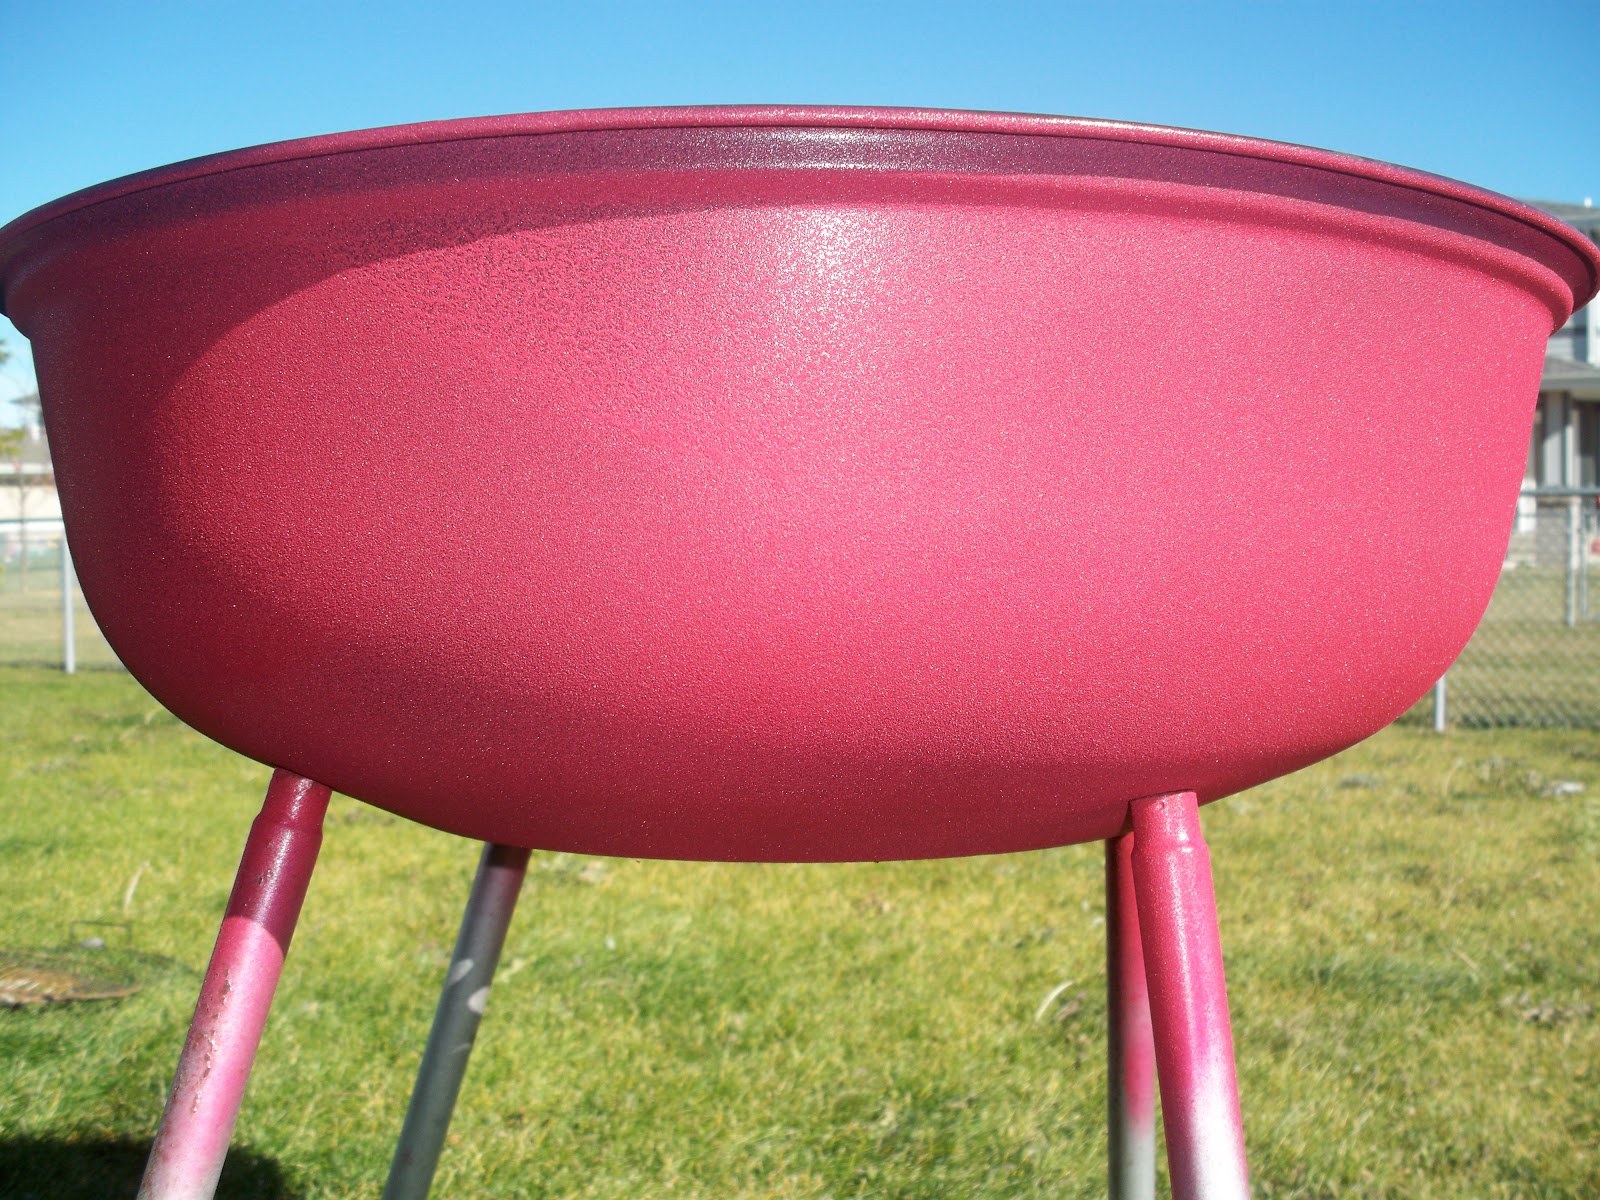
I took off all the racks on the inside and removed the handles. The spray painted it with some red paint I had at my house. I had 2 cans. I thought they were the same, but one was a "velvet" paint? Anyways... It was AWESOME! I used the other can to do a 3 inches space on the inside rim.

I then used this twine and some Gorilla Glue to cover the legs. I started by putting a small dot near the top of the leg.

I single knotted the twine and wrap, wrap, wrapped it around and around and around! lol Every now and then I would add another thin line of Gorilla Glue every now and then just to help it hold. I had just enough to finish 3 legs. Purchase one came here, The new spool cost 1.97.

I used some burlap to cover the bottom. I cut a piece about 1 inch wider and wrapped it around to the bottom side. After pinning it I noticed the one side was bent. I swear it isn't as noticeable in real life! I left it...

I used dark brown embroidery floss to sew it into place.

I then used some heavy duty craft wire and some beads to...

Make a new handle!

Originally I used only 1 piece of wire. I ended up threading 2 more though and then used some pliers to twist them tight.

I chucked the bottom drip pan when cleaning it. I just didn't want to deal with the nasty ash more than nessecary. I had a wicker paper plate thingy that was taller than the rest. I found a cake pan to fit it at the thrift store. Purchase #2 was .25 cents!

I used my not as niftily textured spray paint on the wicker tray and then used the same craft wire and some beads to the sides. I put one on the front and 2 on the sides so that I could take the pan out to clean it if I needed too.

I strung opposite sides of the wire through were it looked alright and twisted them back together.

Here is a shot of what the back of the pan looks like. Easy to get that pan in and out!
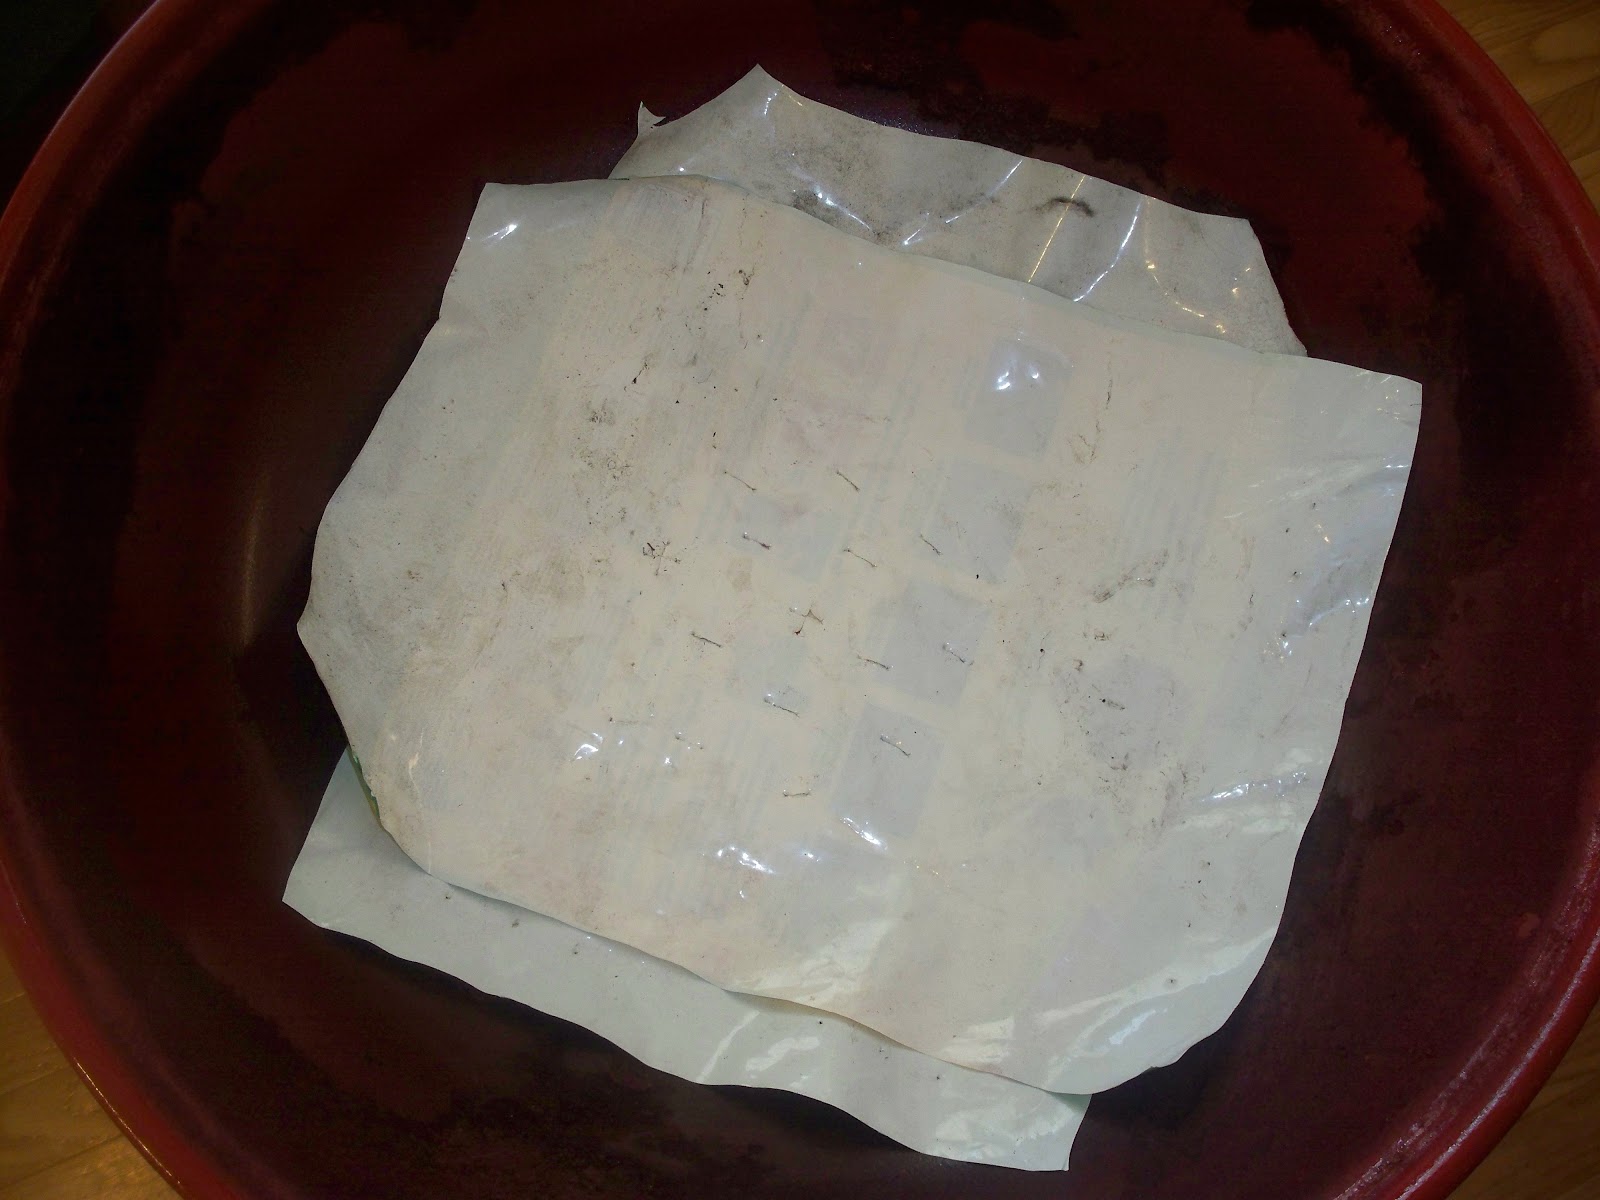
To solve the problem of the gigantic holes where dirt would FOR SURE come pouring through I emptied a bag of dirt in a separate container and then cut the 2 main portions to size. I then used my scissors to cut one small slit where almost every hole in the bottom was. I had one bag, but needed 2 more to fill the thing! My husband argues that I shouldn't count the cost of dirt in this project, but... Just in case... Purchase #3 was 6.47 for 2 bags.

Here is the old container before I put it into the new pot... I'm pretty sure there is no question why we never got tomatoes!

This picture was taken about a week and a half after the plant was transplanted. Doing much better right!

I'm not sure we will ever get tomatoes from this plant, but... I still love my planter! I can move it in or out and have Cherry tomatoes all year round!

No comments:
Post a Comment