


Ok... this project started with the Rushmore T-Shirt! My Sister-In-Law came to visit and bought a pack of shirts. She gave us the extra random size. Now... I would say I'm lazy cause it took me almost 2 years to get to this shirt, but... I'm not right? Cause I turned it into a dress and who does that! lol
This tutorial can seem pretty complicated.. I added a belt in one part and... I'm sure there was an easier way to do that... I just... was working as I went! I'm gunna try to explain this in as many steps as possible. You can just make it longer and then kinda tie a belt and add it on after. My little girl loves dresses and being girly, but plays VERY much like a boy. So, it's best if her decorative belts are sewed on!
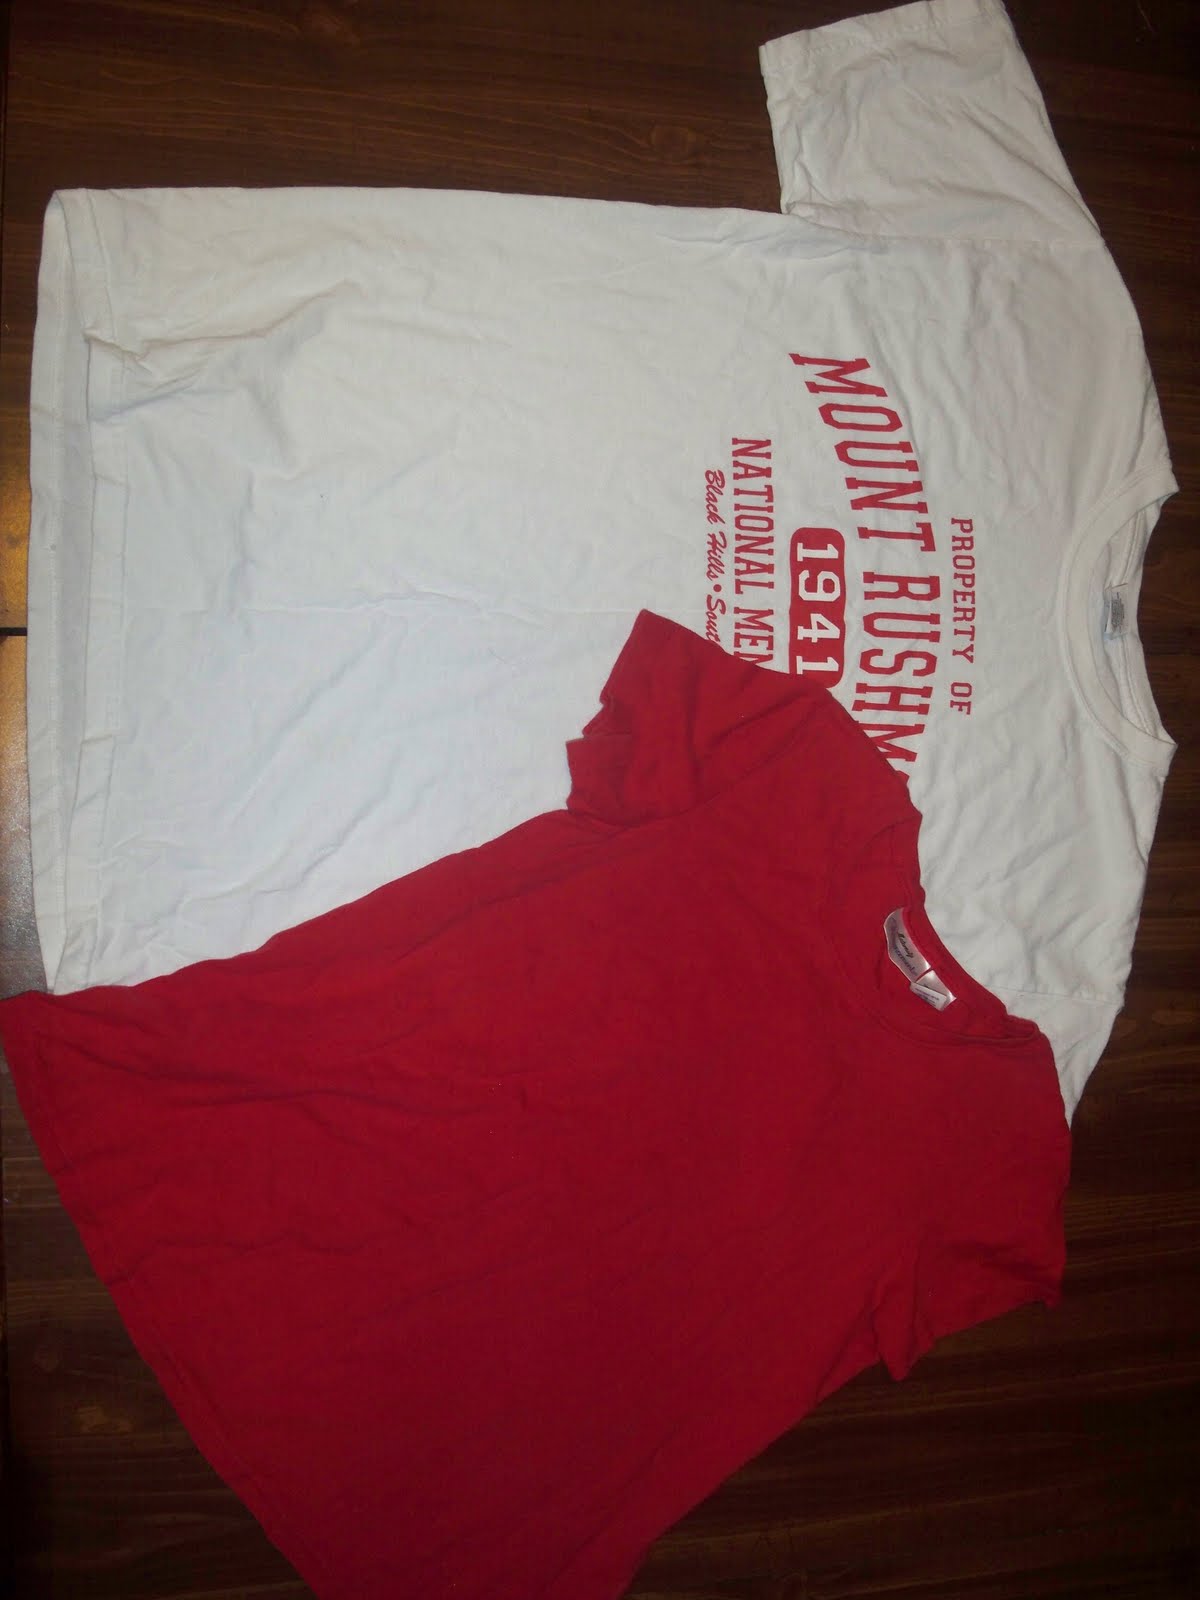
Here are the 2 shirts... the Red is a maternity shirt I had that got washed wrong and the seams were crooked. I had it in my "give away" pile... It's seems to have become my "Gunna Be New Clothes" pile.

To start I had her wear the big shirt and I made an eye note of where I wanted this to hit on her hips. then I found one of her other shirts that fit about how I wanted it around... After cutting the length I folded both the giant shirt and the "wideth I wanted" shirt in half and cut straight up there.

I then removed the sleeves from the other shirt. I only cut about an inch off the bottom part of the sleeve to make it smaller. I then laid it on top of the shirt and cut the shoulder to match!

Next, opened up the main portion with the right side facing up.

Then I pinned the sleeves to the shoulder with the right sides of both touching and sewed.

I then laid it out flat with right sides touching again and sewed straight up the sides to the pits and out the arm in one long line!

After flipping the dress top right side out I cut a few stripes of the red maternity shirt.... Like 2 that were about 5 inches. I wrapped it around the shirt and folded this part up as shown. This is the belt portion that you could skip if you wanted to just make the top part longer and just tie this around her waist.

I then places a slightly shorter piece over the one folded up, pinned and then sewed along the bottom. I then pulled it down so it would hang around her waist.

I cut the remains of the white shirt into 7 inch strips and sewed them together in one gigantic circle. I ruffled it and then pinned it to the bottom of the belt and.... yup... SEWED!

Here it is flipped right side out!

Sorry for the crooked pic.... but... here is the sash at the belt. I made a flower from the scraps of it and sewed it together by hand.

For the neck line I simply found the middle and folded it. Right were the pin is I sewed a straight line for about an inch.

I then flattened it out in the back and sewed along the neckline to keep the fold flat! Easy Cheesy!

Turned out cute! I also sewed some shorts to go underneath. Here is the post for that!

SO cute. I wonder if I can make one of these for myself...
ReplyDeleteAnd I admire that you are going without buying craft supplies... I keep telling myself I will do that and then find ten new projects that I simply must do... so I accumulate more and more supplies while the projects don't happen... Maybe for the new year... ;)
Stopping by from the Weekend Wrapup @ Tatertots and Jello. Have a wonderful weekend!
Lorene
just Lu