Sunday, October 17

T Shirt Headband

OK... I originally cut up this shirt to make over a different one.  Click here for the tutorial that used this to start with.  I had extras of this light blue shirt, so I made a matching head band!  
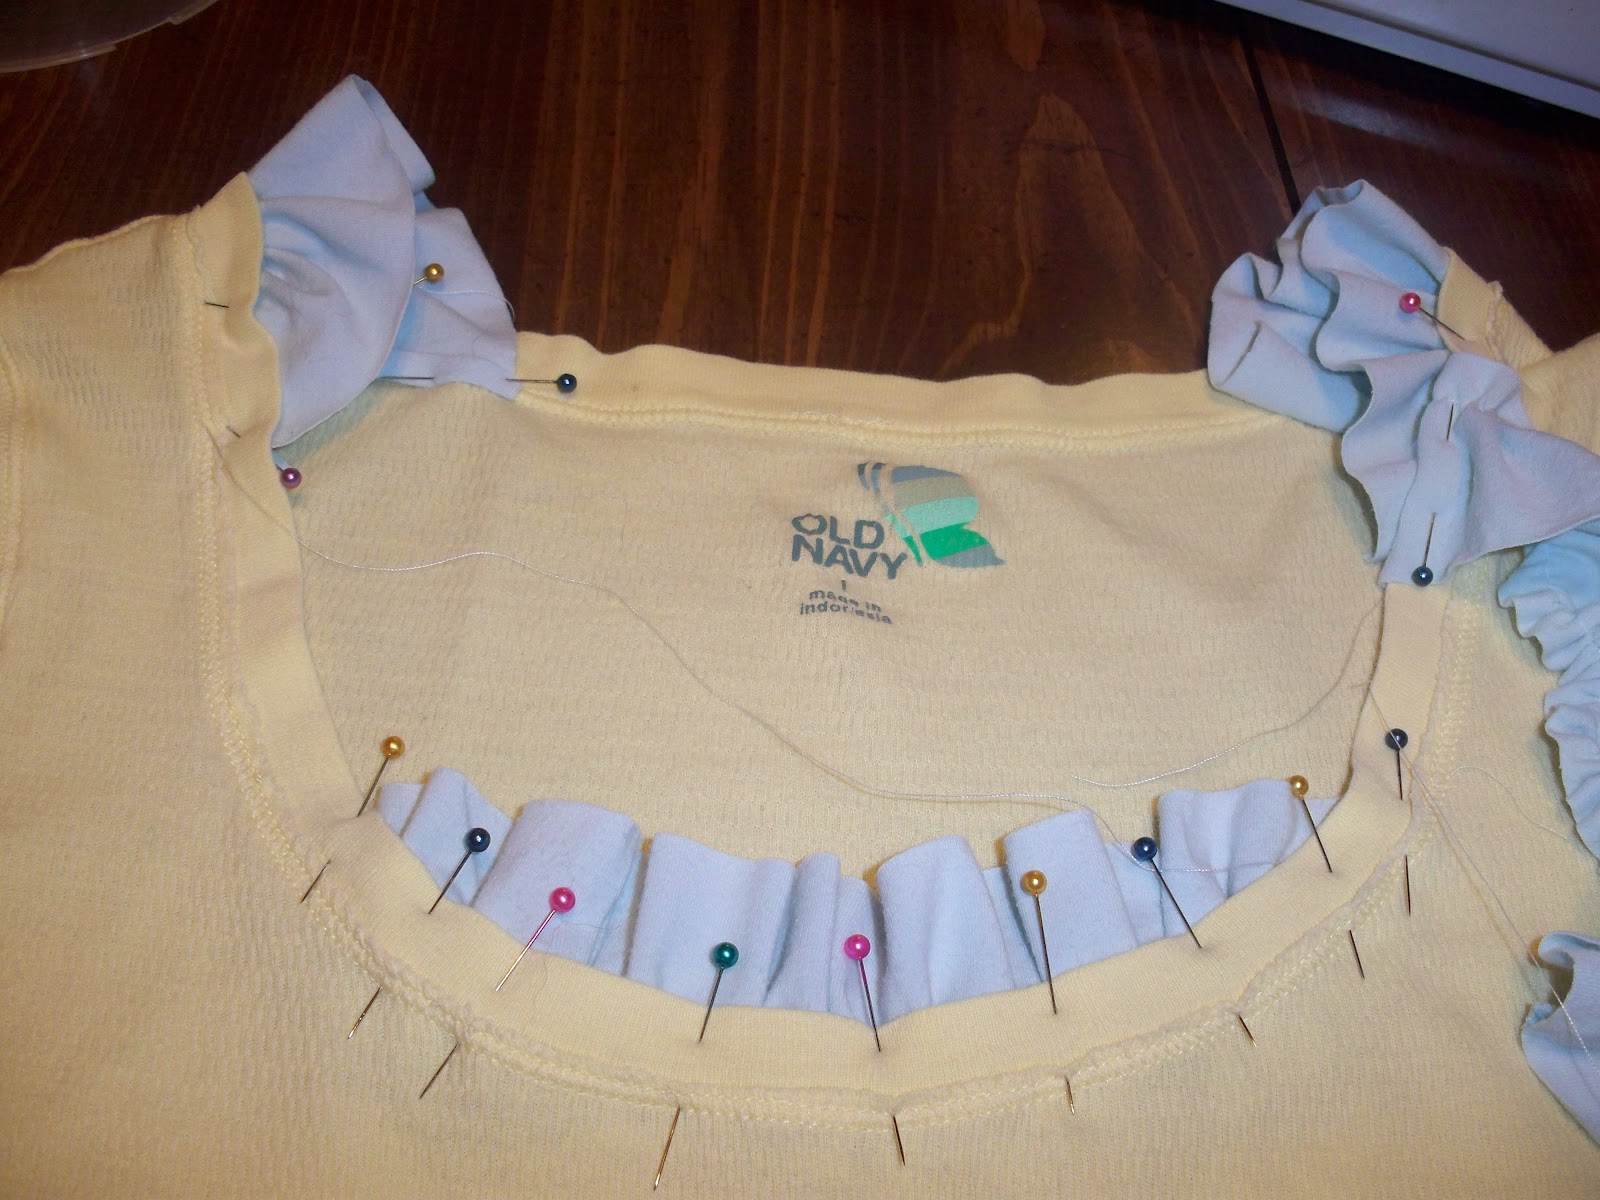
 The main band of the headband came just from one of those strips you see above.  I stretched it and found that wrapped twice around my head it was a perfect fit!
 I then cut some circles from the top bodice part of the shirt.  I used a cup for measurement.  I made three sizes: Large, Medium, and Small!  lol  For the medium and small you need 3 circles, Large I used 4.  Fold all but one of your circles in half twice.
See... Here are both circles for the medium flower, back to back...
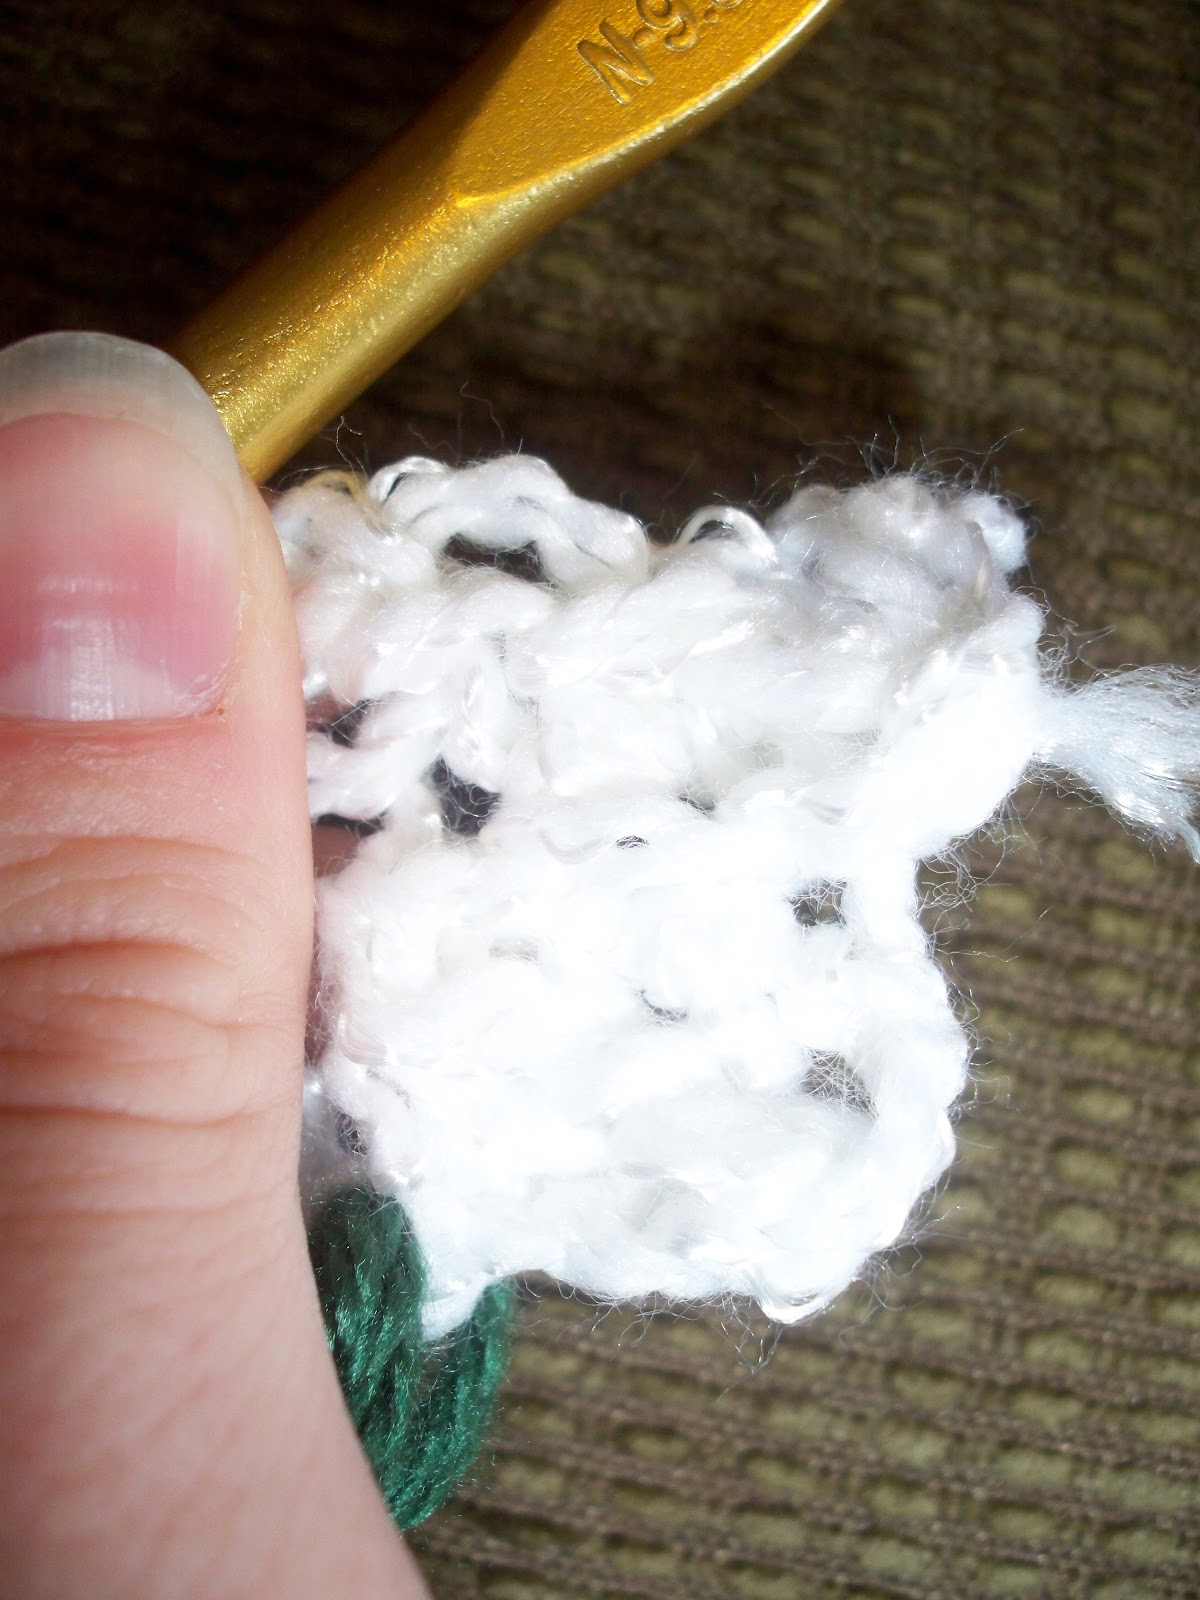
 This picture is bad, but... with a needle and tread sew through all the layers at the tips of your folded flowers, then sew them down into the middle of your last circle.
 On the back of that just work and crumple it, sewing back and forth until it's fairly secure and then hand-stitch it to your headband!
Here are all 3 flowers stitched to the finished headband.  It was pretty easy with minimal sewing!
 Here is a picture of the original shirt the scraps came from (Again... click here for that tutorial) and the cute headband!


Friday, October 15

Stained Shirt Makeover

I have had this shirt for about 4 years.  I noticed a stain on it after holding my son when he was a baby.
I was able to get most of the stain out, but...  the shirt is pretty see through and when I wear it you see it more!  I had it in a pile of thrift store clothes.  I haven't worn it in quite a while, just because of the silly stain!  I still love the shape of the shirt and the neck line!  I decided to "fix it" instead of getting rid of it!
 I started by cutting up another T shirt in the pile that had some stains.  It was nice to make use of 2 shirts that were going to be given away!  I made my strips about 2 inches wide.
Then I cut one side of the seem to make long strips and ruffled them!
 I cut one ruffle into pieces and placed some at the shoulders and chest to make it more of a square neck line.
 With another ruffle I tucked it under in the same place the top left shoulder ruffle was so it would look like it was kind of continuing down.
Then I kinda just dropped the ruffle to see where it would fall and pinned it there!  I will admit to making a few minor adjustments.  I tucked the end under at the bottom and made sure to much of the ruffle wasn't over lapping.
 Here is the first part sewed down!  I used a straight stitch around the neck and a tiny zig zag at the sie ruffle.  I did pick up the sewing needle in some places so that the whole ruffle wasn't plastered to the shirt.  I wanted it kinda floaty, so I tried to only sew where the snag of the ruffle was.  When I cam to a part where I might sew over the body of the ruffle I stopped and picked it up and then started over...
I did the same for the rest of the shirt.  I used 2 more ruffles!  I used one to continue the first and kinda wrapped it around to the back of the shirt a little.  The second I added to the front of the shirt to balance it out a little more!
 Here is a side view so you can see how the ruffle wrapped around to the back.  From here you can also see how the ruffles pop out a little!  I LOVE IT!

Thursday, October 14

Haunted Candy Houses

My husband's family had a tradition growing up where they would decorate REAL gingerbread houses at Christmas time.  I haven't gotten good enough to bake REAL gingerbread yet, but... we also decorate Haunted Houses at Halloween!  It is different, fun, and we give away the leftover candy on Halloween!

All you will need is Chocolate Graham Crackers, Halloween Candy, and my Edible Frosting!  The chocolate graham crackers are harder to find than you would think.  Some of them come with giant sugar crystals all over.  They taste good, but it's harder to get the candy to stick to them!  To save on candy we have added chocolate chips and other cookies than don't really go with the theme.  We have discovered that if you have the chocolate crackers and the orange frosting it turns out Halloweeny.

Jessica's Edible Mortar Frosting

1 Cup Shortening
7 Cups Powdered Sugar
2 Tsp Vanilla
6-7 Tbl Hot Water
Food Coloring

I mix it all up and put it into gigantic Ziploc Freezer bags.
I then just cut a tiny corner to pipe onto the houses.

I generally put the houses together the night before so that they dry.  Then the kids tell me where they want to stick the candy and I squirt the frosting there!  They have turned out amazing every year!  This year we invitied friends!  The more the merrier...  or... scarier, since it's Halloween!   Here are some pictures closer up of the plain house, so you can get an idea of how I put it together, and some with candy on them!


Wednesday, October 13

Backpack Makeover!

How on earth did I NOT post this!  I finished this her first week of school and I swear I thought I posted it then!  Well... I'm just going to post it now.  I wanted it for at the beginning of the school year, but... perhaps your kids backpack needs a makeover already?
Here is her backpack before.  It is my old one from...  Honestly... I don't know cause my husband is using my one from college....  Anyways.  She used this last year for preschool and was happy with it.  This year she is very into Hannah Montana.  We don't have cable, so she never watches it, but that is what she wanted.  To her, anything sparkly and girly is Hannah.
First I put together this mini quilt square of "Hannah" Fabrics.  I was going to look for some at the store, this was before my no crafty stuff til years end pledge, but... I knew she didn't care and I could find something at my house that would work!  I'm sure it's hard to tell, but I used cool stitching on the seems after I sewed it together to give the top a little more flare!
 Then I folded the edges over and pinned it to the outside, large pocket!
 I suppose I could have used a machine for this part, but I wanted you to see the stitching.  I used purple embroidery thread to hand sew the square down.
See!  Cute so far right?
 Next I got some sparkly purple ribbon from my stash.  I put my stitch length at it's longest and the tension as loose as I could and sewed as close to the edge as possible!
 Then I pulled on of the loose threads to ruffle it.  I have a cheap sewing machine and don't have a ruffle presser foot!  One day....
 I decided to put a purple ruffle it two places... one on the opposite side of the zipper than the big pocket. 
 And then more ruffles down the back straps!  I used black embroidery thread to hand stitch the back so that you couldn't see it!
 I then used some shiny green ribbon and ruffled it.  I placed this at the top above the BIG opening to the main part of the backpack.  I would have put another ruffle... but I didn't  want it too ruffly!  lol  Instead I hand-stitched with blue embroidery thread around the middle part to give it more color there.
Ok... to make it "Hannah" I wanted to use freezer paper printing to put a micro phone on the front pocket and then glue sequins or something to it to make it a sparkly mic, but...  My daughter found it and was sooo excited at how it turned out that we left it!  One day I will have to make it match her theme better, but she is pretty easy to please right now!   She has had MANY compliments on her bag.  I was pretty proud at how cute it became! 


Saturday, October 2

Alien Beanie

My Son loves this type of hat, but has been wearing one of the bazillions that my hubby has.  I'm not sure why he has so many, but... I figured it was time for my little man to have one of his own!  Luckily I had super soft green yarn handy!  (You know... my silly challenge to not buy any crafty supplies till the end of the year....  Rgg..)
So... I'm not the best knitter or crocheter... not sure how to spell that one...  Anyways, I cheated and started with a Knifty Knitter Loom!
 Ok.. if you have one of these they come with instructions.  They are SUPER easy.  I like the Knifty Knitters cause they help me keep everything uniform and straight!  Just in case I will give a few instructions on what I did.
For this, I wanted it thick, I doubled up my yarn and then tripled weaved it around the loom.  I would fold over the bottom row, then add another to make three, then fold over the bottom row, then add another....  Blah blah...  I kept going until it was tall enough to make a hat.  Then I cut the yarn, about 6 inches extra, and instead of looping over I pulled it all the way through the loops and pulled tight at the end! 
 The I crocheted a single braid (with 2 strands of yarn)  I made it triple the length that I wanted the... antennae?  Not sure what to call them...
 I then started a loop at the end of this braid... I'm going to braid the braid, but I wanted to hook it onto the hat...
 I pulled the straight side through the top of the hat until the loop was touching the hat... then I braided the braid.
 Towards the end I tied doubled white yard to the end of the green.
 There really is no great way to describe how I did the eyeball parts.  Pretty much I just crocheted a small square and then went back and looped and attached it to the tip of the green over and over until it looked like a square.  (Can you tell I'm not a croqueter?  (Again... Not even sure if that is the right word!  lol)
 I repeated this 3 times so that I had 3 eyeballs on tips of antennae on top of the hat!
 I then used needle and thread to sew black buttons to the eyeballs! 
 My son was out playing with a friend for the morning so... my daughter modeled.  Looks good on her too!  I have pink yarn and we decided she needed a girl alien.
I LOVE this hat!  It was way easy, even if the instructions make it seem not so!  It is cause I say so!  lol


Friday, October 1

Fake-Out Spaghetti Dessert!

This was so fun to feed the kids!  They were slowly eating their dinner, with the promise of an amazing dessert.  Low and behold.... out came more dinner?   Priceless!
 Here is what I used.  The only change I would make is to use butter cream or white frosting.  I just happened to have cream cheese, but it was VERY rich with that.
 Bake your brownies and let them cool.  Then dump 'em into a bowl and add about 1/4 cup of frosting.
 Here is the messy part.  Pick up a chunk of your brownie frosting mixture and roll it around in your hands until it's a ball!  (Meatball that is....)
 Put your frosting into a ziplock baggie, cut a hole in one corner, and squeeze out the frosting all over your plate to make "noodles"!
 I made large "meatballs" and put 2 on each plate.
Then drop your strawberry jam or filling "sauce" over your "meatballs". 
 Then grate your white chocolate bar over the top to make "parmesean"!
 Pretty neat right!   I thought so... The kids were a little upset that I was going to make them eat more dinner.  It was hilarious!  Took them a while to try it.